Making Models in Blender
- Blender → Install MXFB and assets
- Make Character
- Use
export_materials.bpyto get baked textures for character (see below) - Mixamo Auto-Rigger (could be reworked)
- Import
.fbx→ Unity
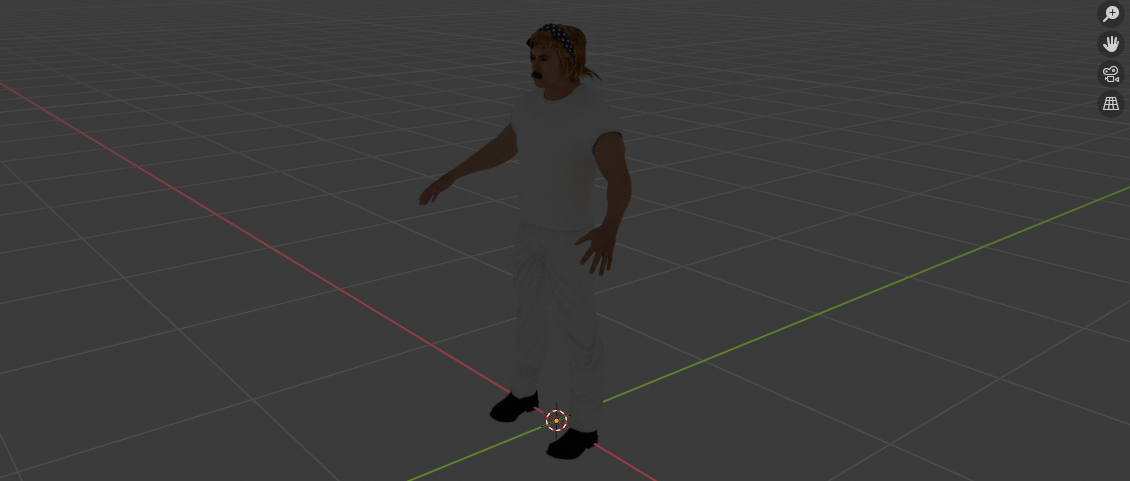
Using MXFB to make a character in Blender. Nice. Now lets export the mesh so it's not a blank porcelain model in Unity.
Exporting Baked textures with Blender scripts
We can automate the process of manual exporting each mesh from the generated character using Scripting.
Adjust the TARGET_COLLECTION_NAME to your....target collection.
import bpy
import os

TARGET_COLLECTION_NAME = "Character"  # Change to match your collection
BAKE_IMAGE_RESOLUTION = 2048
OUTPUT_DIR = bpy.path.abspath("//baked_textures")  # Saves to a folder next to your .blend

# Ensure the output directory exists
os.makedirs(OUTPUT_DIR, exist_ok=True)

# Make sure render engine is Cycles
bpy.context.scene.render.engine = 'CYCLES'

# Get the collection
collection = bpy.data.collections.get(TARGET_COLLECTION_NAME)
if not collection:
    raise Exception(f"Collection '{TARGET_COLLECTION_NAME}' not found.")

# Disable selected-to-active baking
bpy.context.scene.cycles.bake_type = 'DIFFUSE'
bpy.context.scene.render.bake.use_pass_direct = False
bpy.context.scene.render.bake.use_pass_indirect = False
bpy.context.scene.render.bake.use_pass_color = True
bpy.context.scene.render.bake.margin = 16

# Process each mesh
for obj in collection.objects:
    if obj.type != 'MESH':
        continue

    mesh_name = obj.name
    image_name = f"baked_{mesh_name}"
    image_path = os.path.join(OUTPUT_DIR, f"{image_name}.png")

    # Create or get bake image
    if image_name in bpy.data.images:
        bake_image = bpy.data.images[image_name]
    else:
        bake_image = bpy.data.images.new(image_name, width=BAKE_IMAGE_RESOLUTION, height=BAKE_IMAGE_RESOLUTION)

    # Assign and activate image texture node in all materials
    for mat_slot in obj.material_slots:
        mat = mat_slot.material
        if not mat or not mat.use_nodes:
            continue

        nodes = mat.node_tree.nodes
        image_node = nodes.get(image_name)
        if not image_node:
            image_node = nodes.new(type='ShaderNodeTexImage')
            image_node.name = image_name
            image_node.label = image_name
            image_node.image = bake_image
            image_node.location = (-300, 300)

        # Set as active node for baking
        nodes.active = image_node

    # Set mesh as active object
    bpy.ops.object.select_all(action='DESELECT')
    obj.select_set(True)
    bpy.context.view_layer.objects.active = obj

    # Perform bake
    print(f"Baking '{mesh_name}' into '{image_name}'...")
    bpy.ops.object.bake(type='DIFFUSE')

    # Save baked image
    bake_image.filepath_raw = image_path
    bake_image.file_format = 'PNG'
    bake_image.save()

    print(f"Saved '{image_name}.png' to: {image_path}")

print("All bakes completed and saved.")https://www.youtube.com/watch?v=s6XjmNweE_ Now, the Unity material hookup phase.
Unity material hookup phase
Overview
- Import baked textures (e.g.,
baked_Human.shirt.png, etc.) toAssets/Character/Models/baked_textures/ - Import Mixamo-rigged FBX model to Unity (
.fbx) - Apply the correct
baked_*.pngtextures to the model’s materials so it looks like it did in Blender
Reassign the Unity materials for each mesh in the Mixamo rig to use the corresponding baked image textures.
1. Extract Materials from the FBX
- Select your
.fbxfile in the Project panel. - In the Inspector, go to the Materials tab.
- Click “Extract Materials” and choose a folder (e.g.,
Assets/Materials) - Unity creates
.matfiles — one per mesh/material in the FBX.
2. Assign the Correct Baked Textures
-
For each
.matfile in the extracted folder:-
Select it.
-
In the Inspector:
- Drag the corresponding
baked_*.pngtexture into the Albedo / Base Map slot.
- Drag the corresponding
-
Example:
- Material
Human.shirt.mat→ assignbaked_Human.shirt.png - Material
Human.body.mat→ assignbaked_Human.body.png - etc.
3. Preview the Model
- Drag the
.fbxmodel into your scene. - If materials were extracted and edited correctly, you should see all baked textures mapped and lit properly.
- If not, you lose!